Painting Small
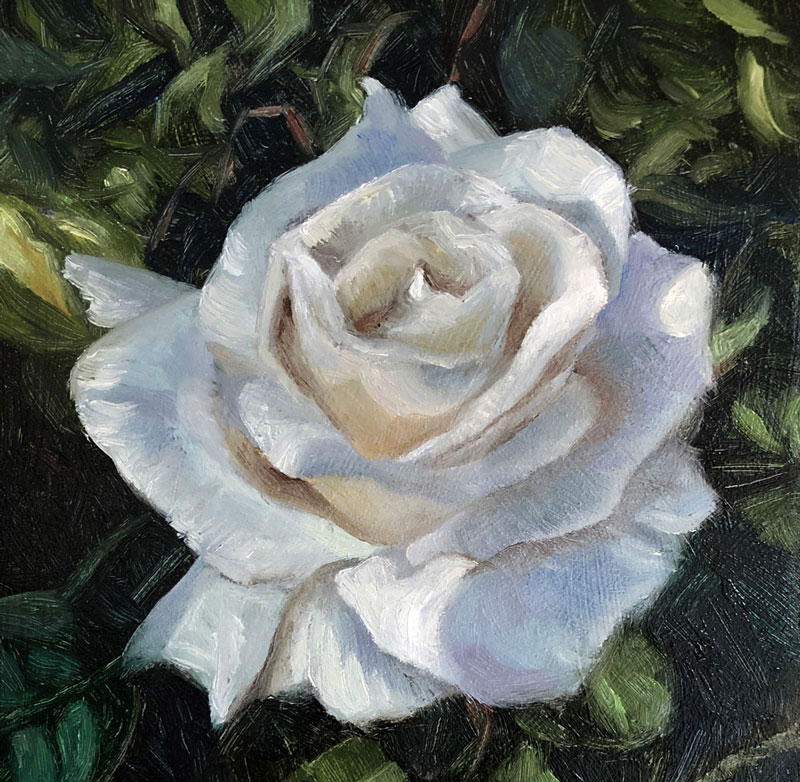
In this oil painting lesson, we’ll take a look at creating a small painting study, measuring just 4″ by 4″. This looser painting of a white rose is both a pleasure and a challenge. Let’s dive in.
Materials For This Painting
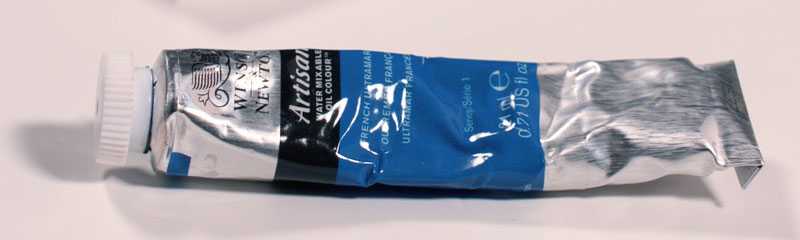
We’ll use water-mixable oils for this painting, combining the advantages of traditional oils with easy clean up with soap and water. Water-mixable oils share slow drying times with their traditional cousins, but with less mess and perhaps less fumes as well. In this lesson, we’ll use Artisan water-mixable oils by Winsor and Newton.
Our palette is relatively simple, utilizing just a few colors. Here are the colors that are used…
- Titanium White
- Burnt Umber
- Burnt Sienna
- French Ultramarine
- Sap Green
- Olive Green
- Viridian Hue
- Cadmium Yellow Medium
- Dioxazine Purple
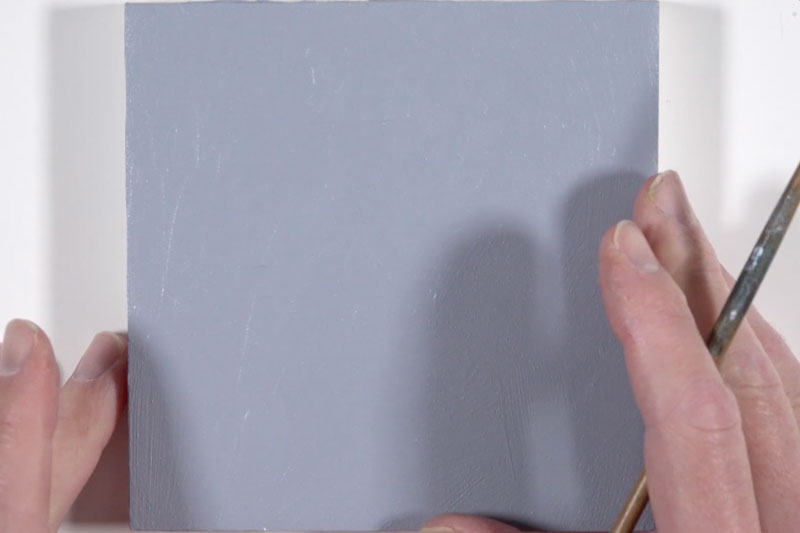
We’ll complete this painting on panel prepared with a base application of acrylic paint. Payne’s Gray and Titanium White were mixed to create a cooler, medium gray which was applied to the surface with strong brush strokes. This near neutral base provides contrast for both light and dark applications to follow.
Reference Photo of a White Rose
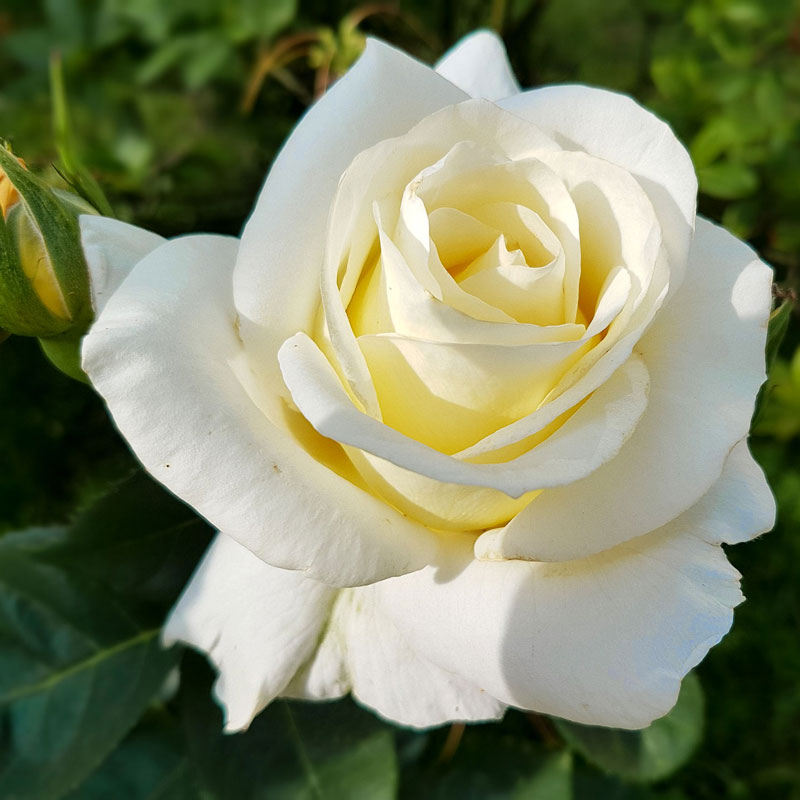
We’ll work from a reference photo for this painting, but as you’ll see there is quite a bit of deviation. The reference photo is from pixabay.com, however it has been altered from its original state to fit in a square format. The colors have also been slightly enhanced.
Here’s a look at the photo reference as it was used…
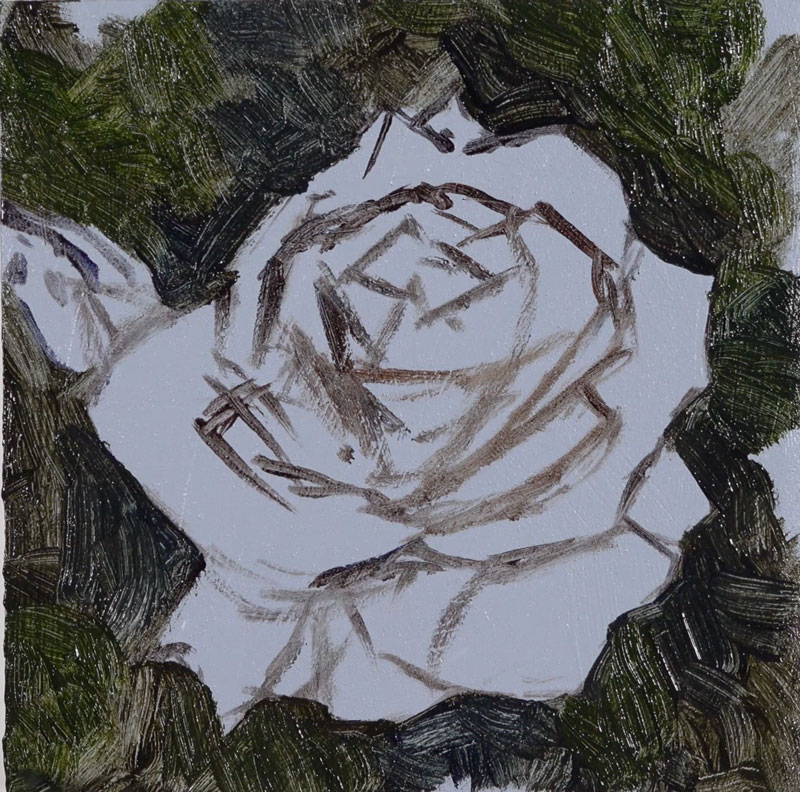
Start With a Sketch
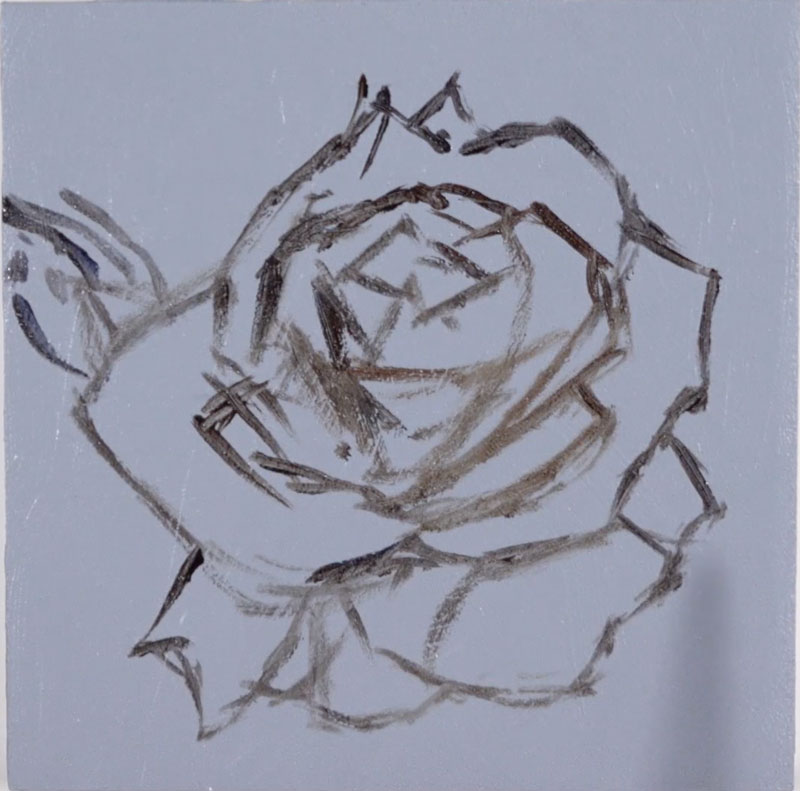
We’ll begin by sketching out the contours of the rose with a mixture of Burnt Umber and Ultramarine. This mixture of colors produces a dark value that contrasts nicely against the gray ground. This mixture is thinned slightly with Artist’s Painting Medium by Winsor and Newton. By thinning the mixture, the paint flows much easier, allowing us to create defined lines.
See also: How to Draw a Rose
Our initial oil sketch is loose and developed using a small flat brush.
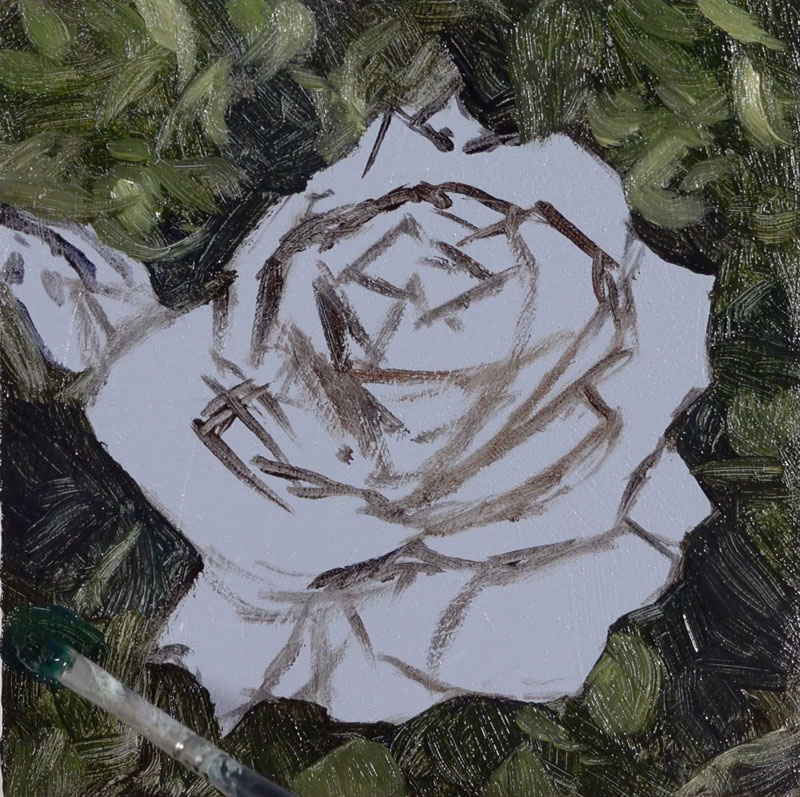
Painting the Background
With our basic sketch in place, we can begin work on the background. For the most part, we’ll develop the background completely before moving on to addressing the rose.
We’ll begin by addressing mostly the darker values and tones with a mixture of Olive Green, Burnt Umber, and Ultramarine. The Olive Green on its own is quite dark and leans towards brown. The addition of Burnt Umber and Ultramarine darkens the color even further.
These two colors also allow us to create a bit of variety. We’ll allow the Ultramarine to dominate in areas where the shadow is a little cooler and the Burnt Umber to dominate in areas where the shadows are a little warmer.
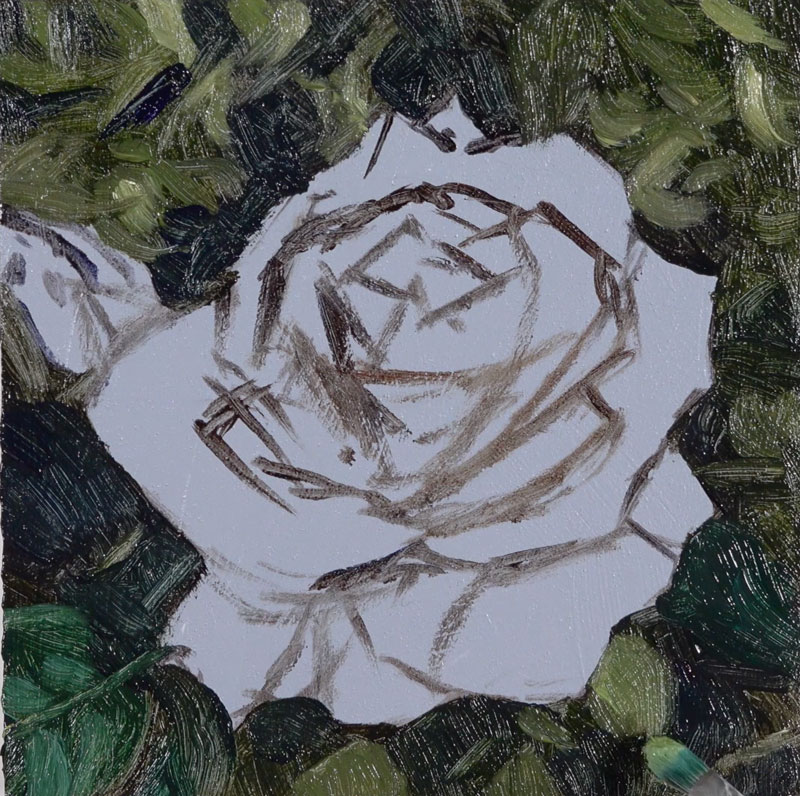
With many of the darker tones in place, we’ll begin to push the value range and slowly bring out the looser shapes of the leaves. Sap Green, a much lighter and warmer green, is mixed with Cadmium Yellow and Titanium White to create a lighter versions of green. This color is applied using brush strokes that mimic the shapes of the smaller leaves.
As we continue to broaden the range of value by adding lighter and darker tones, we’ll also begin to create contrast between warm and cool versions of green. Viridian, a much cooler version of green, is added in areas behind the rose – especially in the lower left portion of the picture plane where a dark cool leaf is found.
And just as we did for the yellow-greens, we’ll continue to push the range of value by adding lighter and darker versions of the cooler green.
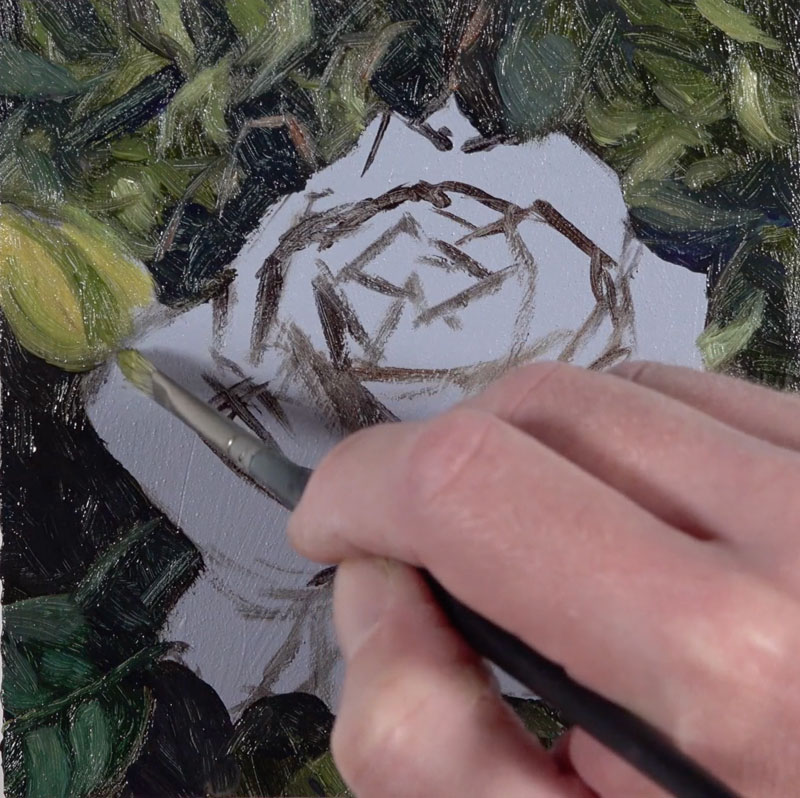
Add the Bud
Once we’re happy with the background, we’ll add the small bud that’s found slightly behind the upper left corner of the rose. This bud helps to break up the rather static composition.
A mixture of Cadmium Yellow, Sap Green, and a touch of Titanium White is added to the shape before darkening and muting with a bit of Burnt Umber. The leaves that surround the bud are added with the same mixture, only dominated with Sap Green. Then the leaves are darkened by adding Burnt Umber and Ultramarine to Sap Green.
Painting the Rose
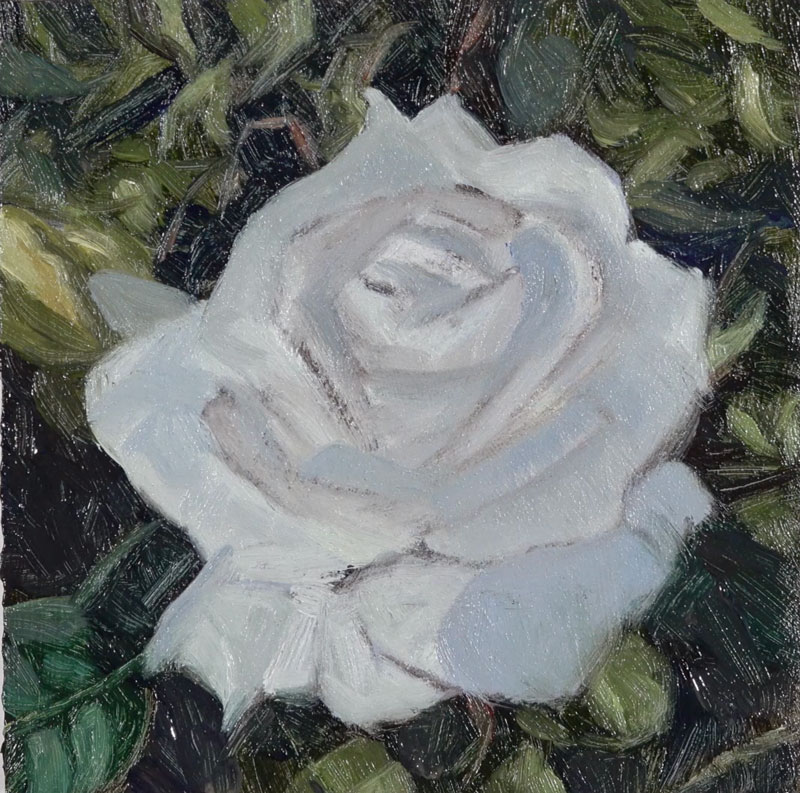
Now that the background is in place and the small bud is complete, we can turn our attention to the body of the rose. We’ll begin by blocking in the shape of the flower with a mixture of Titanium White with a touch of Cadmium Yellow and a subtle hint of Sap Green. Be sure to avoid using pure white as this will leave little room for pushing the values and lead to an unnatural appearance. We rarely see pure white in reality.

We’ll now begin the process of adding the subtle shadows and highlights to develop the form of the flower. We’ll begin by adding some of the cooler shadows. Ultramarine with a touch of Burnt Umber is added to Titanium White to create our first shadow color.

This color is added to the rose petals on the opposite side of the light source. Since our light source originates from the upper left, most of these shadow areas are found on the right side of each petal.
We can add a bit of variety to the shadows by bringing in a little warmth. Dioxazine Purple is added to our blue-gray shadow color to bring in a little of this warmth. This purple will also contrast the warmer yellow highlights and shadows that we’ll add later.
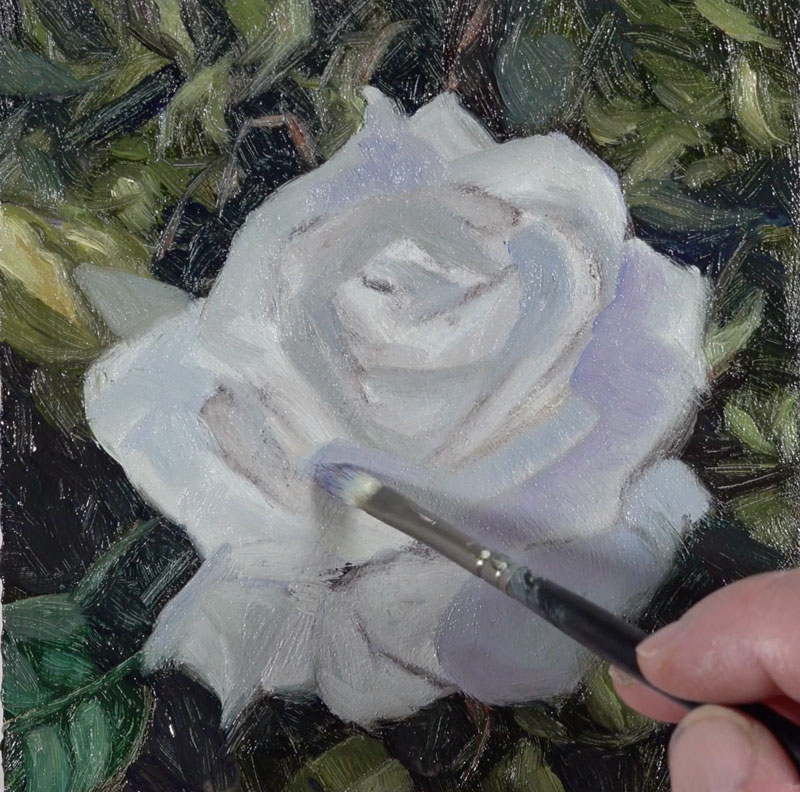
Value is not the only way that we can create contrast. We can also create contrast through the use of color temperature. Warm colors will contrast against cooler ones, even though the value may be similar. We’ll next begin bringing in some of the warmer highlights and shadows.
We’ll create the warmer tones by combining Cadmium Yellow, Titanium White, and Burnt Umber. In areas on the rose, light is making its way through the flesh of the petal, radiating light rather than being a shadow. Near the center of the flower, the shadows are stronger so Burnt Umber dominates.
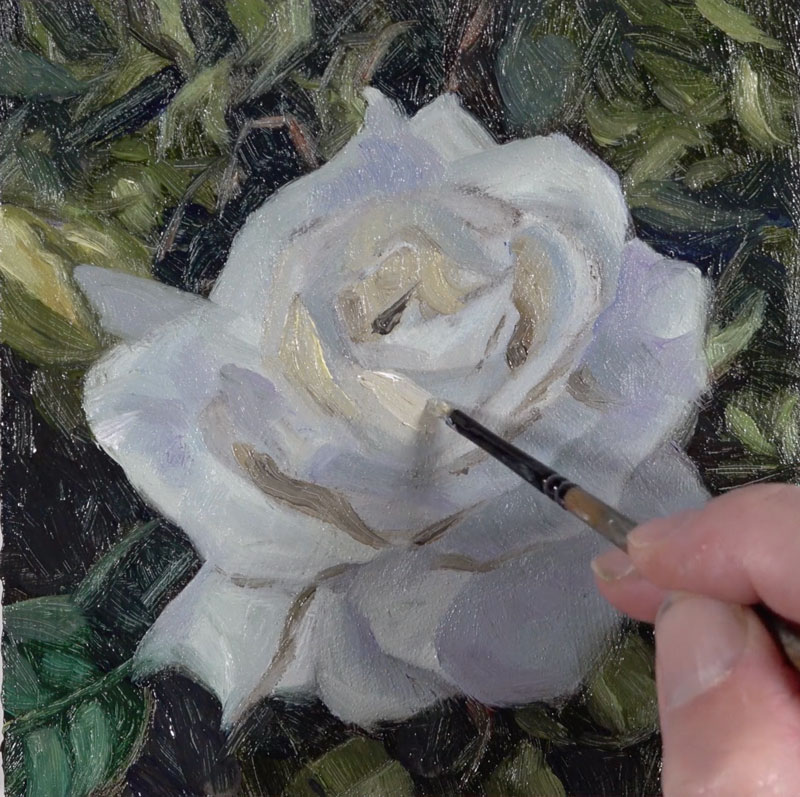
As we add the warmer shadows, we’ll also begin pushing the lighter values where light is landing on the petals of the rose with some intensity. As we add both darker and lighter tones, the form of the flower and each petal begins to make more sense. The more we broaden the range of value, the stronger the light appears in the painting.
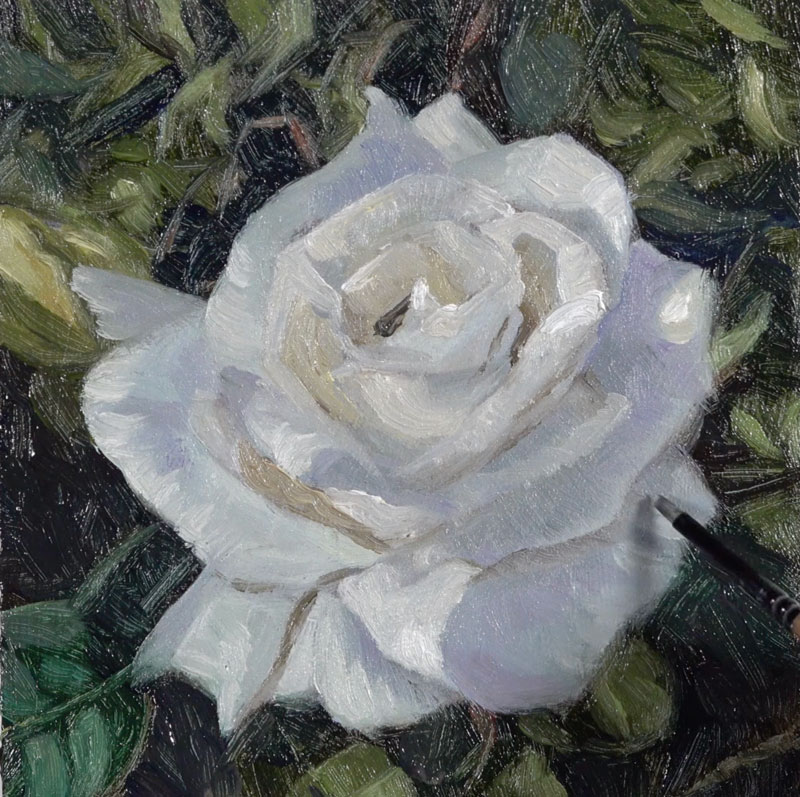
We’ll soften the strongest shadow near the center of the rose. Then we can add highlights that are close to white but still have a hint of color. These last touches of strong highlight pull the painting together and increase the contrast further.
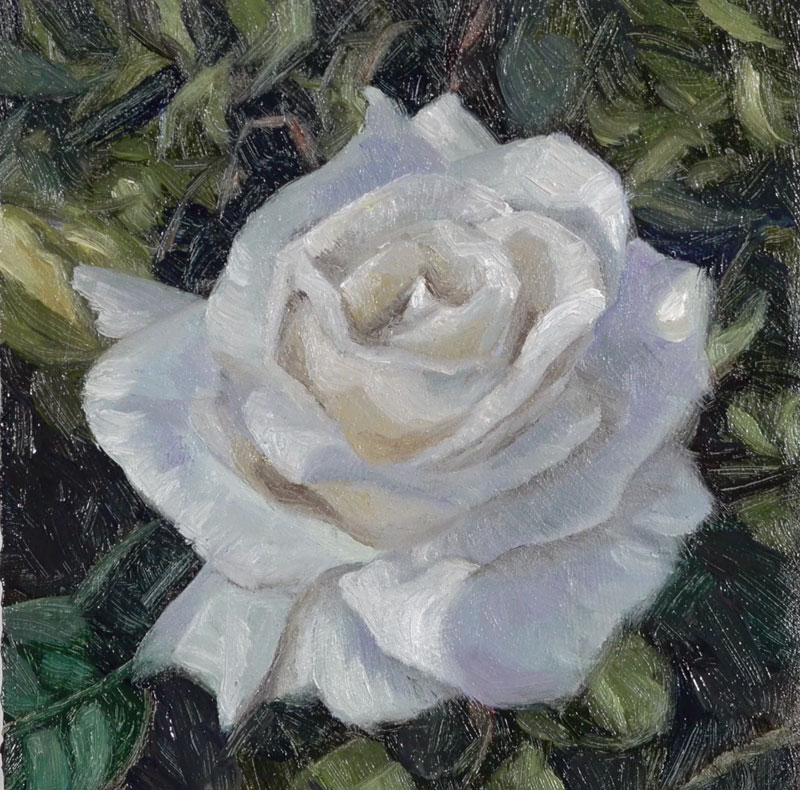
We’ll continue pushing the value range until we’re happy with the contrast and light. Now our quick study of rose painted with water-mixable oils is complete.
Conclusion
A painting doesn’t have to be large to capture a subject as complex as a rose. We can use brush strokes, subtle changes in value, and color temperature shifts to communicate any subject in an interesting way. As an added bonus, painting small saves time while still forcing us to practice the observational skills and painting techniques that will improve us as artists.
If so, join over 36,000 others that receive our newsletter with new drawing and painting lessons. Plus, check out three of our course videos and ebooks for free.