Drawing a Lemon with Pastels
In this timed drawing exercise and challenge, we’ll create a sketch of a lemon with pastels. We’ll work quickly and attempt to complete the drawing within a 30 minute time constraint. Even though we’re only devoting a few minutes to this exercise, we’re still exercising the same visual “muscles” as we do when we create a more finished and complete drawing.
The key to developing your drawing skills lies in repetition and practice. As little as a few minutes each day in practice will lead to stronger drawing skills. Grab your pastel materials and let’s dive in.
One of the wonderful aspects of pastels is that we can layer colors quickly. This means that we can build up an image in a short period of time. Even though the process of working with pastels is clearly one of drawing, the thought process is more closely related to that of painting.
When we paint with an opaque painting medium like acrylics or oils, we block in shapes with a base color. We can then develop the values and textures over the shape, which leads to a representational illusion. Pastels function in a similar way. We’ll start with blocks of color and develop them with additional applications over the top to develop the form and texture of the subject – in this case – a simple lemon.

Materials for this Drawing Exercise
In this drawing, we’ll use just a few basic colors and a pastel surface suitable for multiple, layered applications. Any brand of soft pastels will work – you can even use pastel pencils if you prefer. In this lesson, Rembrandt pastels are used. These are considered professional-quality pastels and are very rich in pigmentation. Having used many different brands over the years, these pastels are my favorite – in fact, I own just about every color you can.
The surface is Mi-Teintes pastel paper. A warmer gray is chosen since most of the colors on the lemon and surrounding areas are warmer. However, you could chose a surface that is cooler to produce contrast if you wish. The paper is mostly covered up with pastel applications in this case, so the paper has a minimal effect on the final image.
Mi-Teintes pastel paper is a high quality paper for pastels, but it’s priced fairly low. It features two distinct sides. One side of the paper is coarse and heavily textured. The other side is smoother, but still provides ample tooth for multiple, layered applications. We’re working on the smoother side of the paper here.
Photo Reference
The photo reference that we’re working from comes from pixabay.com. This is a wonderful site for finding photo references. Finding suitable photo references has always been difficult in the past. But with new websites like pixabay.com popping up, it’s becoming a lot easier to find great images that are appropriate for practice.
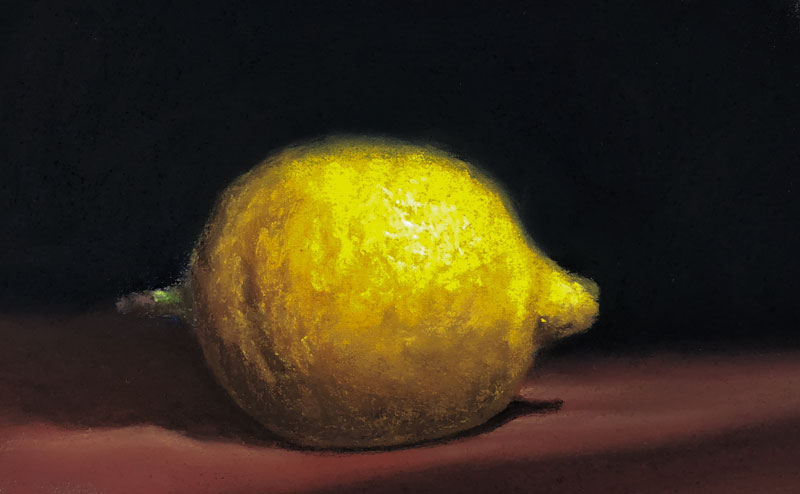
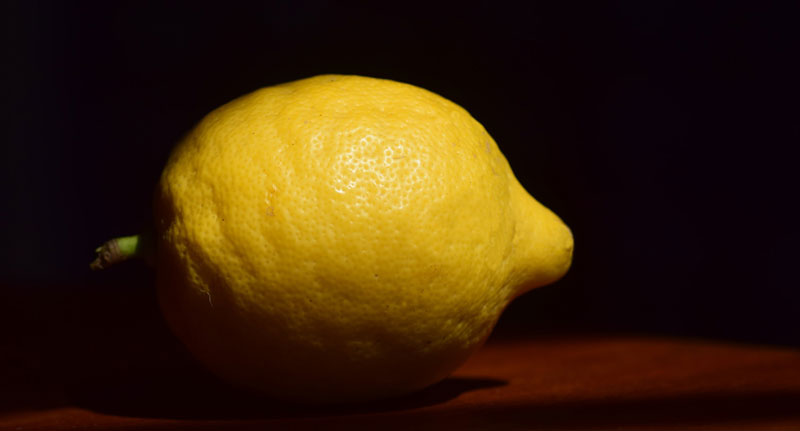
Here’s a look at the photo reference of the lemon…
How to Draw a Lemon with Pastels – Step by Step
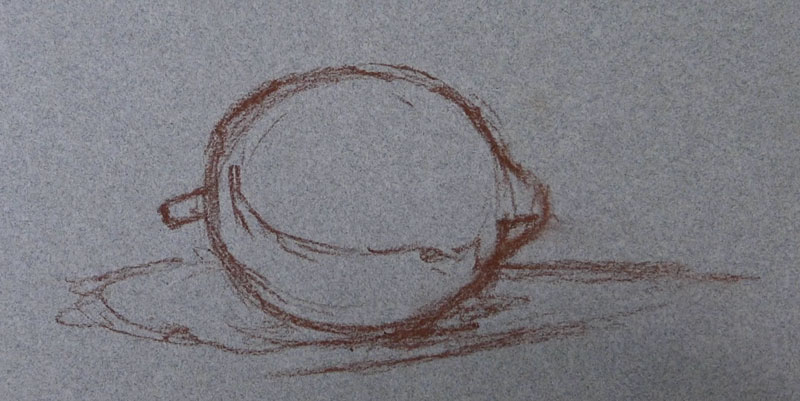
Now let’s break down the process into to easy to understand chunks. We’ll start with a simple and loose sketch using a light brown pastel pencil. We’ll avoid using black since it’s such a strong color and would undoubtably overpower the yellows that we’ll add later. You can use any warmer color that you wish here, but I’d suggest staying away from cooler colors, like blue.
Since pastels can be applied opaquely, we’ll start blocking in colors in sections that are further away from the viewer and work forward. This means that we’ll address the background first and then move to the middle ground, and lastly – the foreground.
The background appears to be black in our reference. Black is an incredibly strong color. On its own, black can make an image appear flat and unnatural. For this reason, we’ll add a bit of color. Since most of the colors in the foreground are warm, we can use a cooler color to create a subtle contrast in color temperature. We’ll first lay down some blue and smudge the application with our finger. Over the top, we’ll add black and continue to smudge the pastels. This will produce a very dark background, but one that is slightly tinted with color. This prevents the dark, “black” background from overwhelming the drawing.
We’ll also address the table in which the lemon is sitting at this stage. Remember, the lemon overlaps the table as well, so it makes sense to address it before developing the lemon. A reddish-brown, or burnt sienna, is used to address the basic shape.
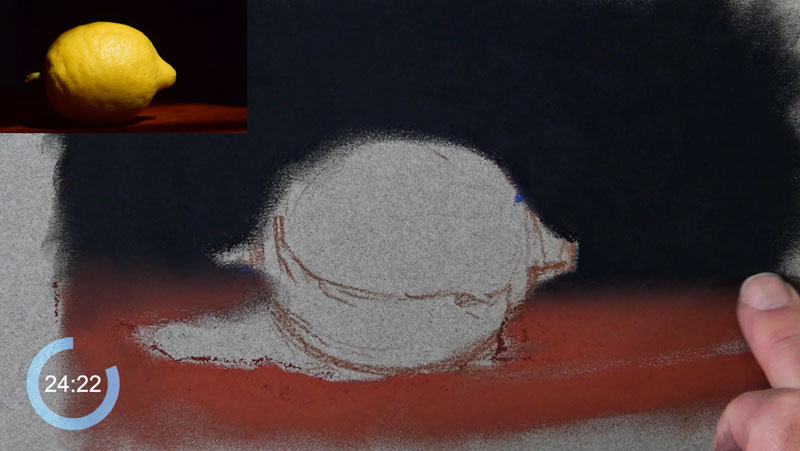
Cast shadows are then added over the top of the table and underneath the shape of the lemon with a black pastel pencil. These black applications naturally mix with the color added for the table, toning down the strength of black.
With the background in place, we can turn our attention to the lemon. We’ll start with a medium yellow, which serves as our base color. The entire shape of the lemon is blocked in using this color.
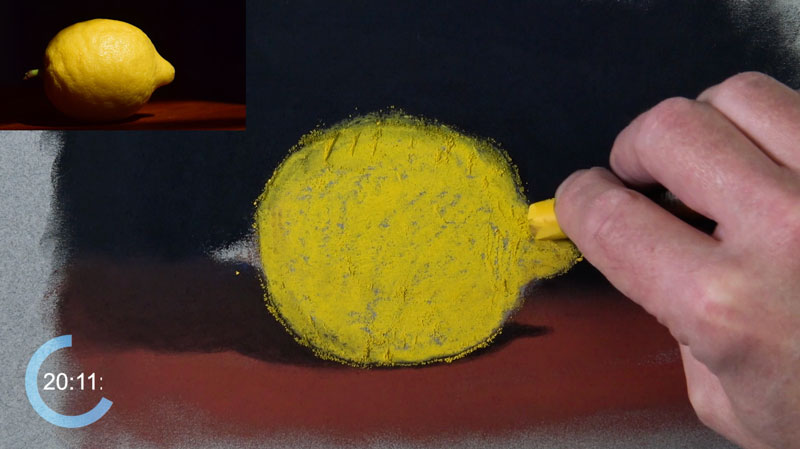
Now we can begin to adjust the values to develop the form and texture of the lemon. We’ll start with the darker tones in the area of core shadow on the body of the lemon. A medium brown is applied first. Brown is used since it is warm like the base color of the lemon, but darker in value. As this brown is added, it is blended with the yellow already in place.
A bit of color is also added in the shadow. First a touch of red is applied, followed by a little orange. This adds a bit more depth to the color and additional interest.
To address the darkest areas of shadow, found near the base of the lemon, a darker brown is applied. Again, this color is blended to create a gradation.
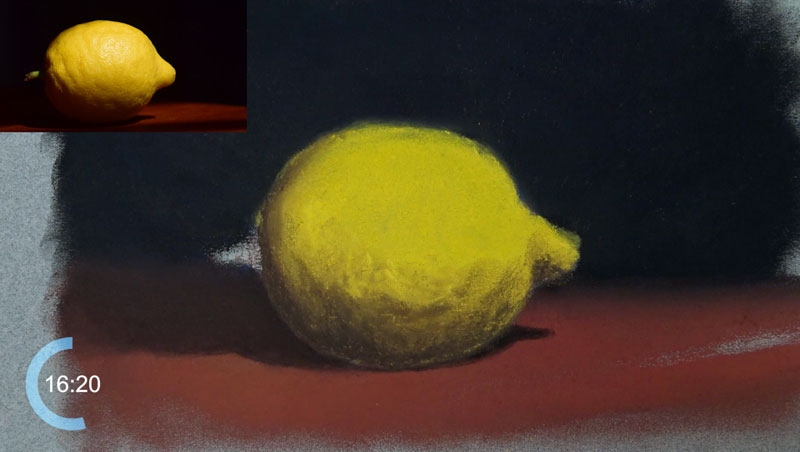
Now we’ll begin developing some of the lighter values. Since the light source originates from the upper right corner, most of these lighter tones will exist on the upper right portion of the lemon. We’ll start with a slightly lighter yellow than our base color. Marks are made with a light touch with circular stroking to mimic the coarse texture of the lemon.

Next, we’ll add a strong highlight in the upper right quadrant of the lemon with a very light yellow, again using circular strokes. This color may appear white but there is a slight tint of yellow.
We’ll add a base application of yellow-green for the stem. Then, as we did with the body of the lemon, we’ll begin developing the lighter and darker values. A dark brown is used for the shadow on the underside of the stem and a gray is applied on the tip.
A lighter yellow-green is applied on the stem to act as the highlight. Since this area is quite small, a blending stump is used to blend the applications.
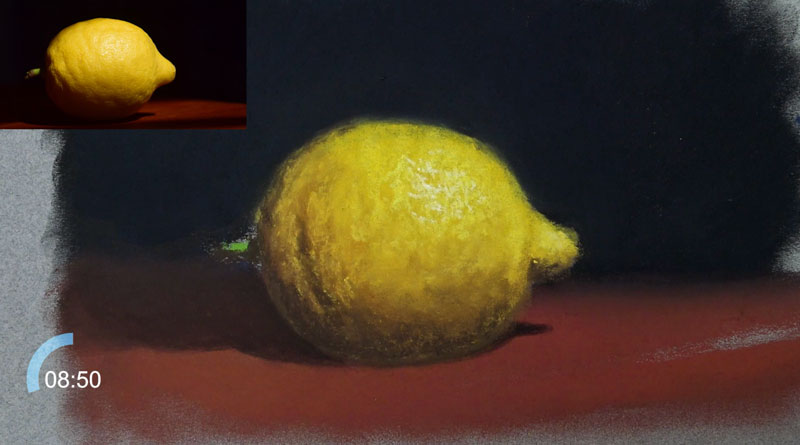
At this point, much of the drawing is complete. We’ll now enhance the illusion of light and clean up the drawing.
A touch of light yellow-orange is added to the table for added variety. As an added benefit, the addition of this color increases the contrast between the cast shadow produced by the lemon and the light on the table.
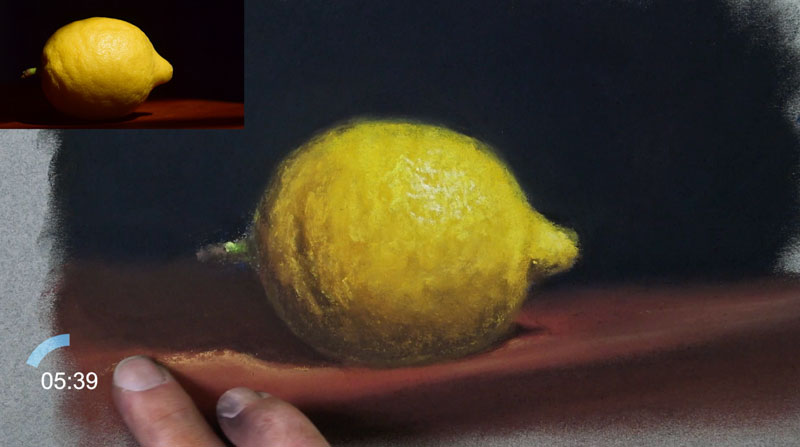
Pastels naturally produce colored dust. During the drawing process, this dust finds its way into areas that you may not intend. Periodically, we’ll clean these bits of dust by blending. Now that we’re at the end of the drawing, we’ll need to conduct a final “tidying up” of this dust that still remains on the surface. In this case, we’ll simply use our finger to work any of the colored dust into the paper, restoring the intensity of the color and completing the drawing.
If so, join over 36,000 others that receive our newsletter with new drawing and painting lessons. Plus, check out three of our course videos and ebooks for free.